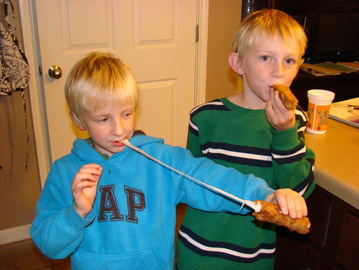
Yes, I said FRIED CHEESE.
Seriously, who doesn't love something fried every once in a while? And tell me, what child doesn't LOVE fried cheese? It is a special treat when the kids come home from school and their afternoon snack is fried cheese. Yes, making anything fried is a little daunting and the grease splatters alone will send an OCD mom into a cleaning fit. (That is why I invite my OCD friends over on fried cheese days!) But if you can get over the mess, the smile on your kids face will be worth cleaning grease splatters off the ceiling.
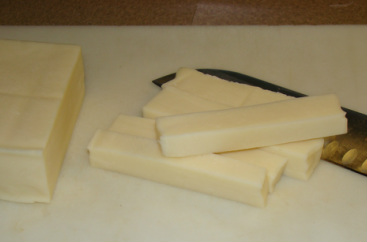
16oz block of mozzarella cheese
1/2 cup flour
4 eggs
2 cups Italian bread crumbs
6 cups of vegetable oil
Marinara sauce for dipping (Rao's is my favorite!)
Take your block of mozzarella cheese and cut it into about 1/4 inch rectangles.
You will need 3 shallow bowls for battering the cheese.
Bowl #1 - 1/2 cup of flour
Bowl #2 - 4 eggs, beaten
Bowl #3 - 2 cups Italian bread crumbs, just putting 1 cup a time in the bowl.
Coat the cheese sticks in flour (this helps the egg stick to the cheese), then dip in eggs and then coat with breadcrumbs (making sure to cover the ends). If you like thicker coatings re-dip in egg, then in breadcrumbs again. Batter all cheese the cheese sticks first and have them ready to go when it is time to cook.
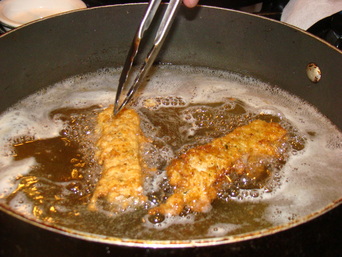
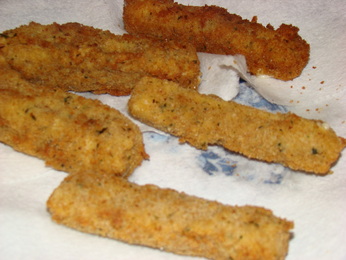
Heat your vegetable oil to 350 degrees and fry cheese for 30 to 45 seconds on each side; it will be a golden brown, and voilà! You have beautifully fried cheese sticks in no time!
You kids will LOVE you for it! ♥
**For an adult version, this recipe works really well with fresh mozzarella, and it is oh so freaking good! :)
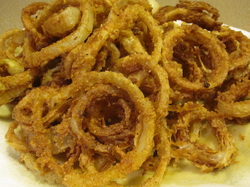
I LOVE onion rings. I always order them when we go out - that is IF the place has good ones. Now, if you are getting any ideas and are considering delivering onion rings to my house to make my day, hold that thought. I don't like O-rings from fast food restaurants. They suck. I haven't found a fast food restaurant O-ring that I like yet. People say, "oh try the ones from Sonic" - I say "Peshaw - they are NASTY". Oh no, I'm not dising Sonic, I'll take a diet cherry limeade any day of the week & the kids love their greasy food, but when it comes to O-rings, Sonic ranks right there towards the bottom of my list. Now I do LOVE the onion straws from Texas Land and Cattle ~ they ROCK! Hooters has some pretty good O-rings as well as Buffalo Wild Wings. However I love making my own and here's how I do it:
(This recipe comes from a cookbook titled "Burgers" by David Morgam.)
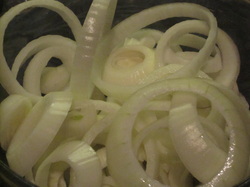
Slice up a few white onions (2 or 3) like this:
Let them soak in buttermilk for at least 30 minutes.
Mix together:
1 cup flour
2 tsp sweet paprika
1 tsp cayenne pepper
1 TBL Kosher salt
While your onions are soaking in buttermilk, fill a frying pan (I like to use cast iron) 1/4 of the way full with vegetable oil & heat the oil to 350 degrees F. (Or until a small piece of bread will brown in 30 seconds)
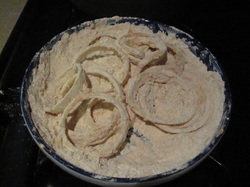
Dip a few onions at time in the flour mixture:
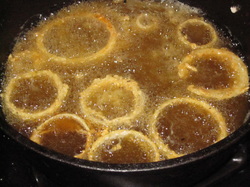
Fry for 2-3 minutes or until golden brown.
Devour.
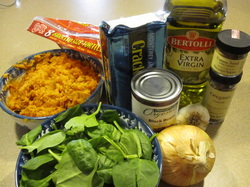
I know what you all are thinking - black bean and sweet potato quesadillas?!?! I wasn't sure the first time I made these either, but let me tell you, the mixture of black beans, spinach, sweet potatoes & Monterey Jack cheese, well these were all a match made in heaven. Personally I would have never thought of that combination, but now that I have tried it, I'm glad someone over at Cooking Light Magazine threw these ingredients together!
½ cup chopped onion
2 garlic cloves minced
1 TBL olive oil
1 can black beans, rinsed and drained
1 TBL fresh squeezed lime juice
1 TSP dried oregano
1 TSP ground cumin
8 10 inch flour tortillas
1 ½ cup mashed cooked sweet potatoes
2 cups shredded Monterey Jack cheese
Baby spinach
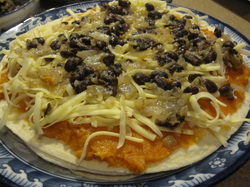
In a large skillet, cook onion & garlic in olive oil till tender. Stir in black beans, lime juice oregano, cumin; heat through & set aside.
Layer tortillas with ¼ sweet potatoes, 1/8 of the cheese, ¼ bean mix, a layer of spinach, another 1/8 of the cheese & top with another flour tortilla, make 4.
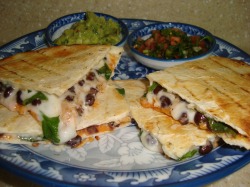
Grill uncovered on low for 4 minutes, flip and grill another 4 minutes. (times vary per grill) You can also cook these in a skillet if you wish.
Serve with my homemade
chunky salsa &
guacamole!
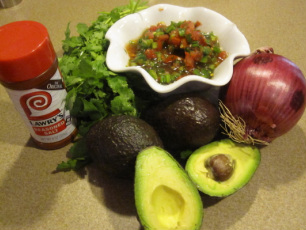
Ingredients for my yummy guacamole!
I'm so glad I put this small amount of salsa in this cute white dish. Right after this photo was taken Boy 1 was setting the table & when he was taking the plates out of the cabinet I'm not sure what happened other than the big container of salsa I JUST made was knocked to the ground and shattered...salsa and all, thankfully no one was hurt during the crash. I wonder if I can count that bowl in my decluttering challenge. Humm....
EVERY time I make this guacamole for a party it is devoured. People can't get enough of this stuff & they always ask me for the recipe, so here it is...
3 ripe avocados
3-5 TBL T's Homemade Salsa
1-2 TBL fresh chopped cilantro
1-2 TBL finely chopped red onion
Lawry's Season Salt
Mash ripe avocados with a muddler or fork. Add rest of ingredients to taste. Serve with chips! OH BABY!
And a note from one of my sponsors (Boy 1)
Chico uno hola me gato es muy delicioso con guacamole.
I've been making fresh chunky salsa for years now. I don't even buy the stuff in the jar anymore, I can't stand it. I want FRESH. This makes Hubby a little crazy because sometimes when he wants chips and salsa he doesn't want to wait for me to make it. I know I should indulge and buy a jar, but when I have done that in the past it ends up sitting in the fridge and eventually it turns into a science experiment.
Today I am making salsa (and guacamole - recipe to follow) because I am making Black Bean and Sweet Potato Quesadillas. I know, that sounds like a 'interesting' recipe, but trust me, they are FANTASTIC!
Here's my recipe -
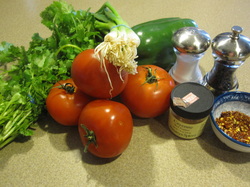
5 vine ripe tomatoes
1 bell pepper
1 bunch green onions
1 bunch fresh cilantro
1 jalapeño
Crushed red pepper
Cayenne pepper
Kosher salt
Fresh crushed black pepper
Chop first 4 ingredients - I do this by hand, but you can use a food processor if you so choose.
Depending on the level of heat you desire, leave the seed in or take them out of the jalapeño before chopping.
Add the last 4 ingredients to taste.
I like to let my salsa sit in the fridge for about 1 hour before serving, however most of the time someone starts eating it right away!


 RSS Feed